
Nginx + WordPress Setup Guide on LEMP Stack

WordPress is one of the most popular Content Management Systems (CMS) globally, enabling users to build flexible websites using a MySQL backend and PHP processing. While it is beginner-friendly, it scales incredibly well for large sites.
This tutorial focuses on setting up a WordPress instance on a LEMP stack (Linux, Nginx, MySQL, and PHP) on a Debian-based server.
Prerequisites
Before starting, ensure you have the following:
- Sudo User: Admin privileges on your system.
- LEMP Stack Installed: You should already have Nginx, MySQL, and PHP installed (refer to the previous LEMP Stack Installation guide if needed).
- SSL Certificate: It is highly recommended to have an SSL certificate active for your domain before installing WordPress.
Step 1: Create a MySQL Database and User
Although MySQL is already installed, WordPress needs its own database and user to manage site data securely.
- Log in to MySQL
If you use the default authentication (auth_socket):
sudo mysql
If you have set a root password:
mysql -u root -p
- Create the Database
We will name the databasewordpress.
CREATE DATABASE wordpress DEFAULT CHARACTER SET utf8 COLLATE utf8_unicode_ci;
(Note: Ensure you include the semicolon ; at the end of the command).
3. Create a User
For security, we create a specific user for this database. We will use wordpressuser in this example. Replace password with a strong, secure password.
CREATE USER 'wordpressuser'@'localhost' IDENTIFIED BY 'password';
GRANT ALL ON wordpress.* TO 'wordpressuser'@'localhost';
- Exit MySQL
EXIT;
Step 2: Install Additional PHP Extensions
The basic LEMP stack includes minimal PHP extensions. WordPress and its plugins often require additional libraries to handle images, XML, and other tasks.
- Update and Install Extensions
sudo apt update
sudo apt install php-curl php-gd php-intl php-mbstring php-soap php-xml php-xmlrpc php-zip
- Restart PHP-FPM
Apply the changes by restarting the PHP processor (ensure the version number matches your installed PHP version, e.g.,php8.2-fpm):
sudo systemctl restart php8.2-fpm
Step 3: Configure Nginx
We need to modify your Nginx server block to handle WordPress specifically.
- Open your configuration file
Assuming your config file is namedwordpress:
sudo nano /etc/nginx/sites-available/wordpress
- Add/Modify Location Blocks
Inside yourserver { ... }block, add the following optimizations:
- Ignore logs for favicon and robots.txt:
location = /favicon.ico { log_not_found off; access_log off; }
location = /robots.txt { log_not_found off; access_log off; allow all; }
- Cache static files:
This improves performance for images, CSS, and JS.
location ~* \.(css|gif|ico|jpeg|jpg|js|png)$ {
    expires max;
    log_not_found off;
}
- Configure the Main Location Block:
Locate your existinglocation /block. Change thetry_filesline to pass control toindex.phpwhen a file isn't found (this enables WordPress Permalinks).
location / {
    # try_files $uri $uri/ =404;  <-- Comment this out
    try_files $uri $uri/ /index.php$is_args$args;
}
- Test and Reload
Check for syntax errors:
sudo nginx -t
If successful, reload Nginx:
sudo systemctl reload nginx
Step 4: Download WordPress
For security, always download WordPress directly from the official source.
- Download and Extract
cd /tmp
curl -LO https://wordpress.org/latest.tar.gz
tar xzvf latest.tar.gz
- Prepare the Config File
Copy the sample config file to the actual config filename:
cp /tmp/wordpress/wp-config-sample.php /tmp/wordpress/wp-config.php
- Move Files to Web Root
Copy the files to your web directory (e.g.,/var/www/wordpress). The.at the end ensures hidden files are copied too.
sudo cp -a /tmp/wordpress/. /var/www/wordpress
- Assign Permissions
Give ownership towww-data(the Nginx user) so WordPress can update itself and install plugins.
sudo chown -R www-data:www-data /var/www/wordpress
Step 5: Secure the Configuration File
We need to add security keys (salts) and database credentials to the wp-config.php file.
- Generate Security Keys
Run this command to get unique, random keys from the WordPress API:
curl -s https://api.wordpress.org/secret-key/1.1/salt/
*Copy the output block that starts with define('AUTH_KEY'...*
2. Edit the Config File
sudo nano /var/www/wordpress/wp-config.php
- Update Keys
Find the section with dummy keys (put your unique phrase here) and delete them. Paste the keys you generated in the previous step. - Update Database Details
Find the database settings at the top and update them with the info from Step 1:
define( 'DB_NAME', 'wordpress' );

/** MySQL database username */
define( 'DB_USER', 'wordpressuser' );

/** MySQL database password */
define( 'DB_PASSWORD', 'password' );
- Set Filesystem Method
Add this line anywhere in the file (e.g., below the DB settings). This prevents WordPress from asking for FTP credentials when installing plugins.
define( 'FS_METHOD', 'direct' );
Save and exit (CTRL+X, Y, Enter).
Step 6: Finalize Installation via Web
-
Access the Installer
Open your browser and navigate to your domain:
http://your_domain_or_IP -
Follow the Wizard
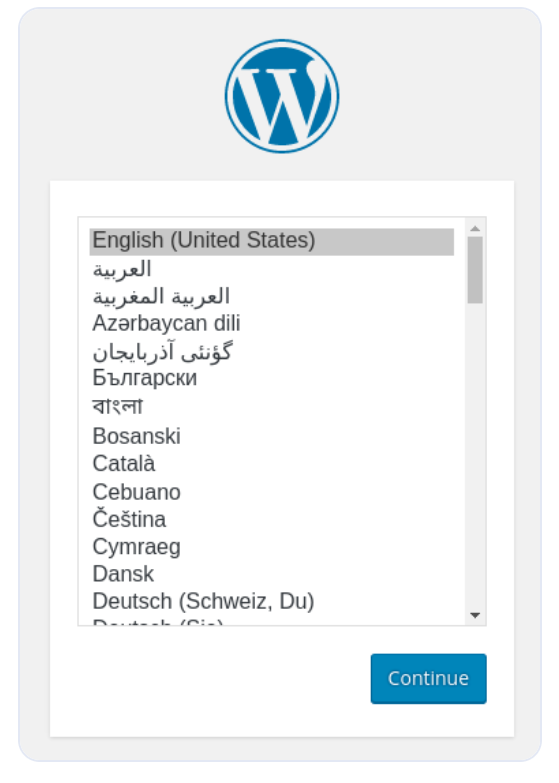
- Language: Select your preferred language.
- Site Info: Enter your Site Title, Admin Username (avoid "admin" for security), Password, and Email.
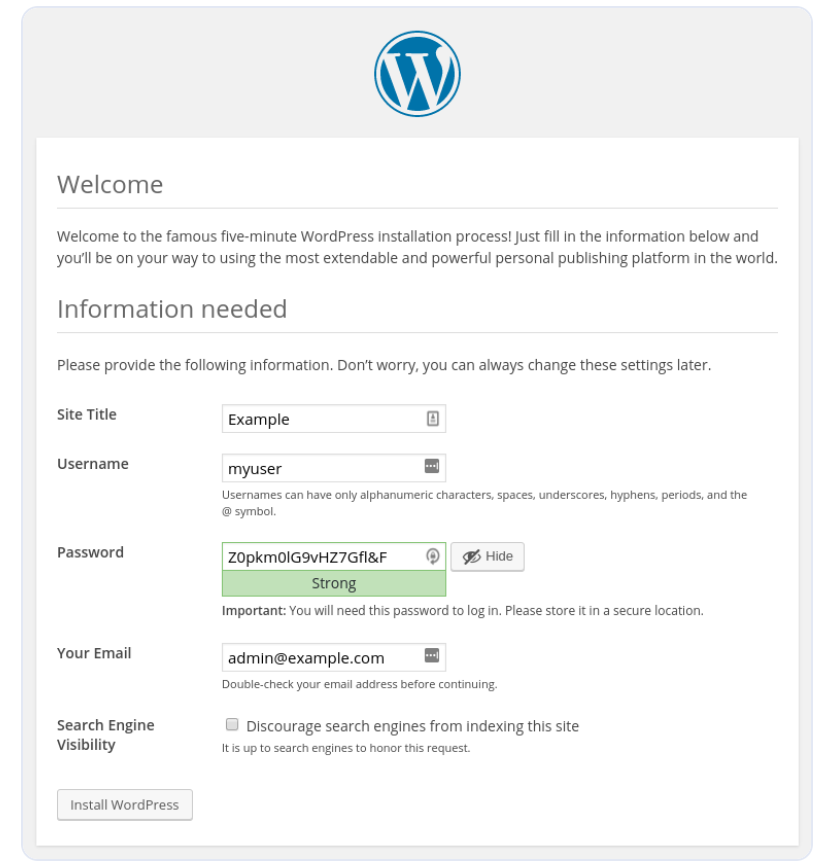
- Search Visibility: Choose if you want Google to index your site immediately.
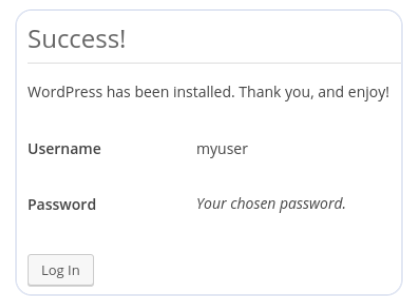
- Log In
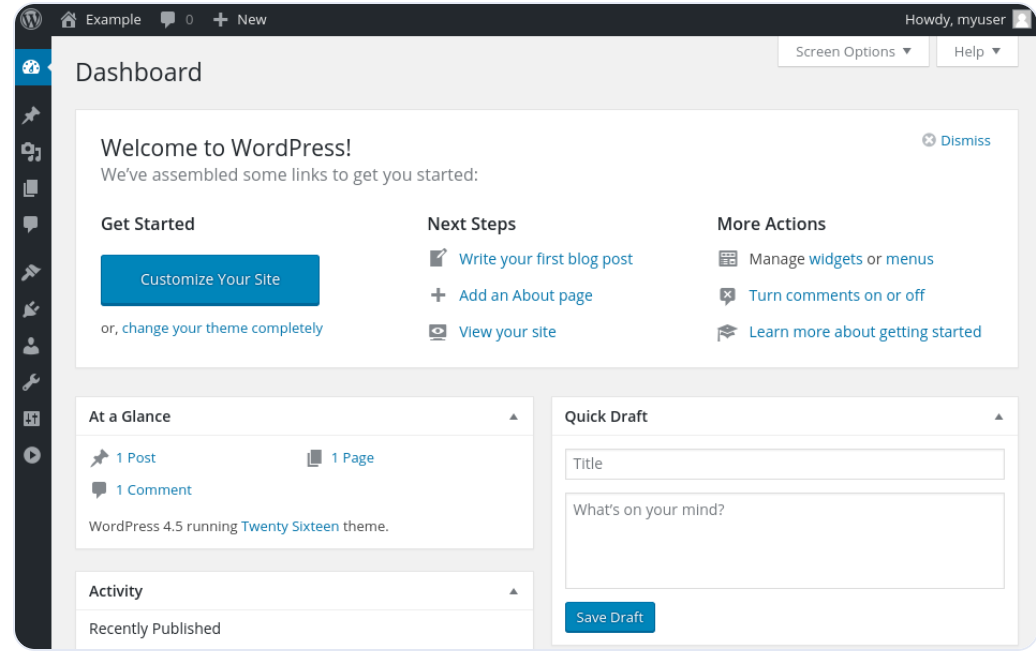
Click Install WordPress. Once finished, log in to your new dashboard.
Conclusion
Your WordPress site is now live on a high-performance LEMP stack!
Next Steps:
- Configure Permalinks (Settings > Permalinks).
- Install a Theme (Appearance > Themes).
- Secure your site further with plugins.